SPECIFICATION GENERATOR
Find out which low impact materials are right for your building project.
How to internally insulate around fire places
Here, using some simple 3d models, we look at how to insulate around your fireplace when installing internal wall insulation.
The method below is suitable for fireplaces with a wood burner installed or for open fireplaces (which obviously we would prefer were not used due to their inefficiency) with a separate surround. The surround would need to be removed first and the procedure below followed. It is also suitable when fireplaces are left visible but not used, in which case the flue liner is not needed.
Step One – Line the existing flue
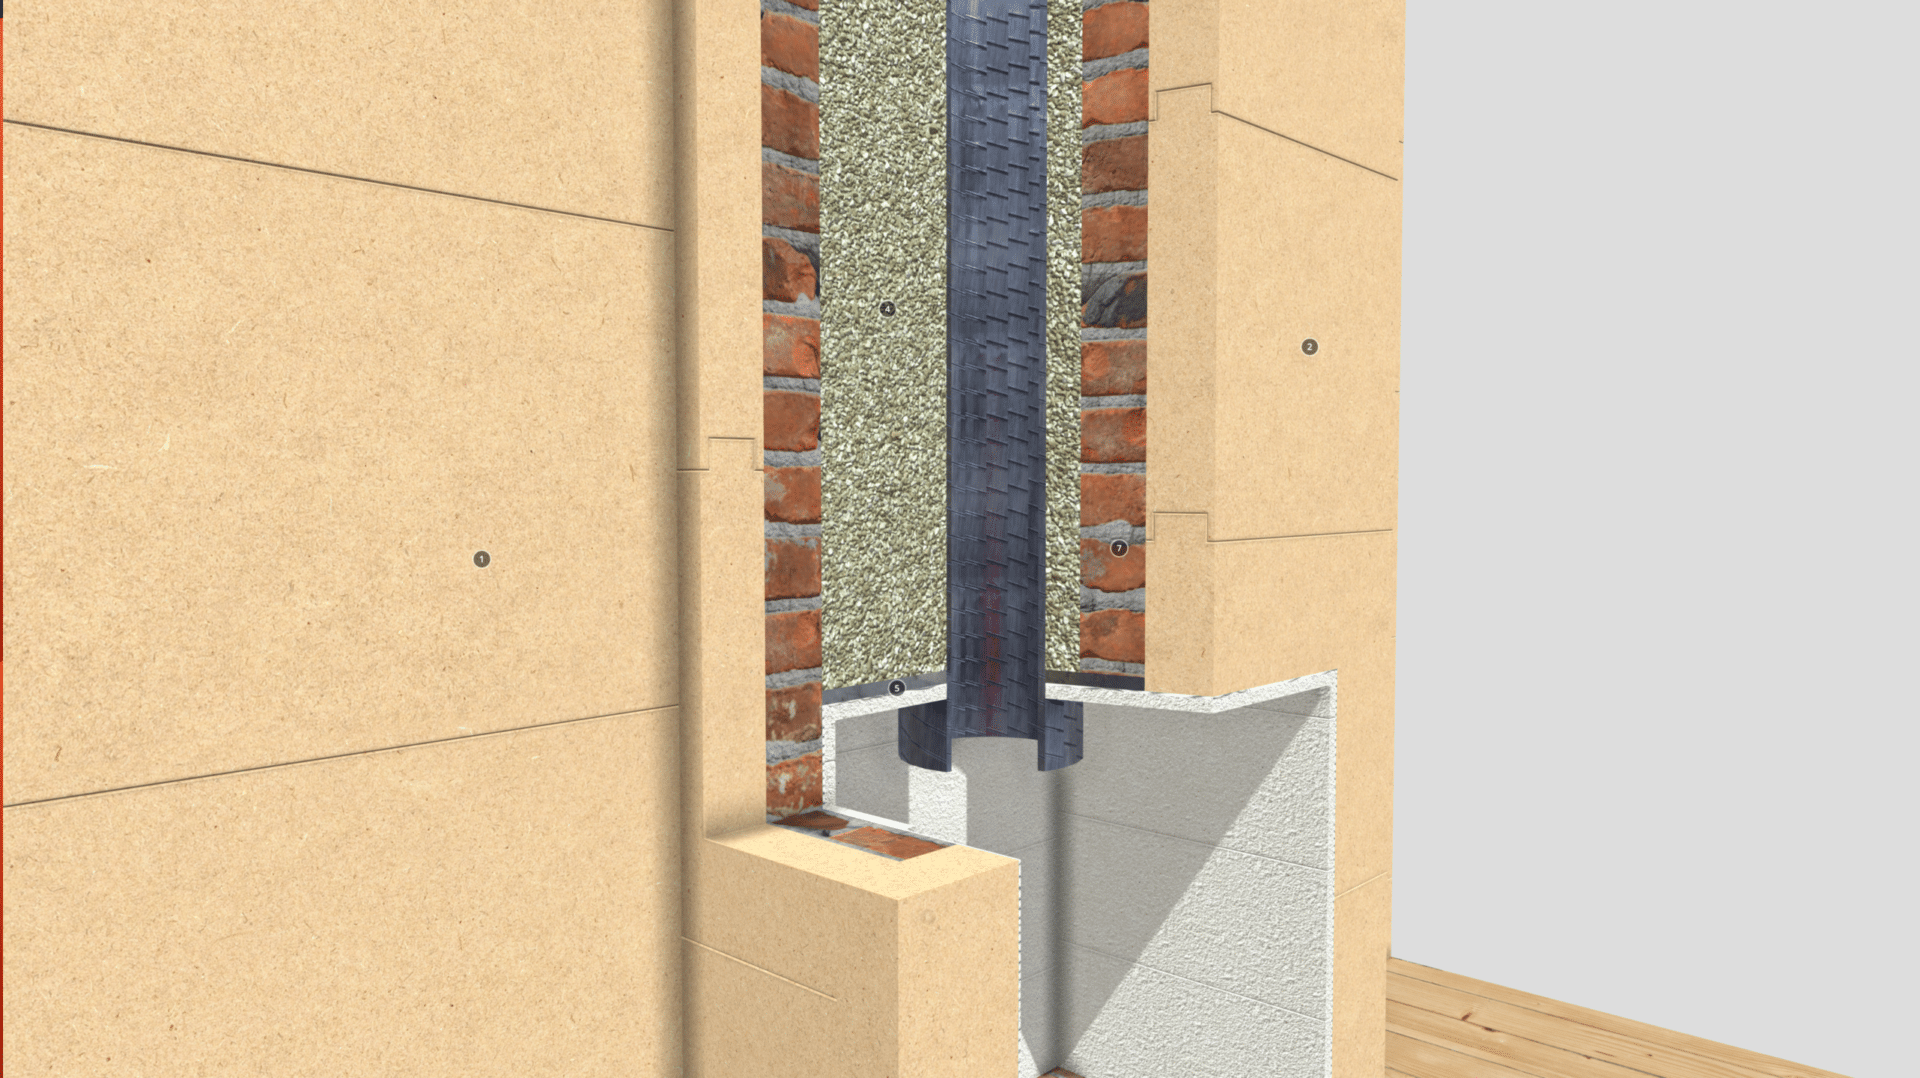
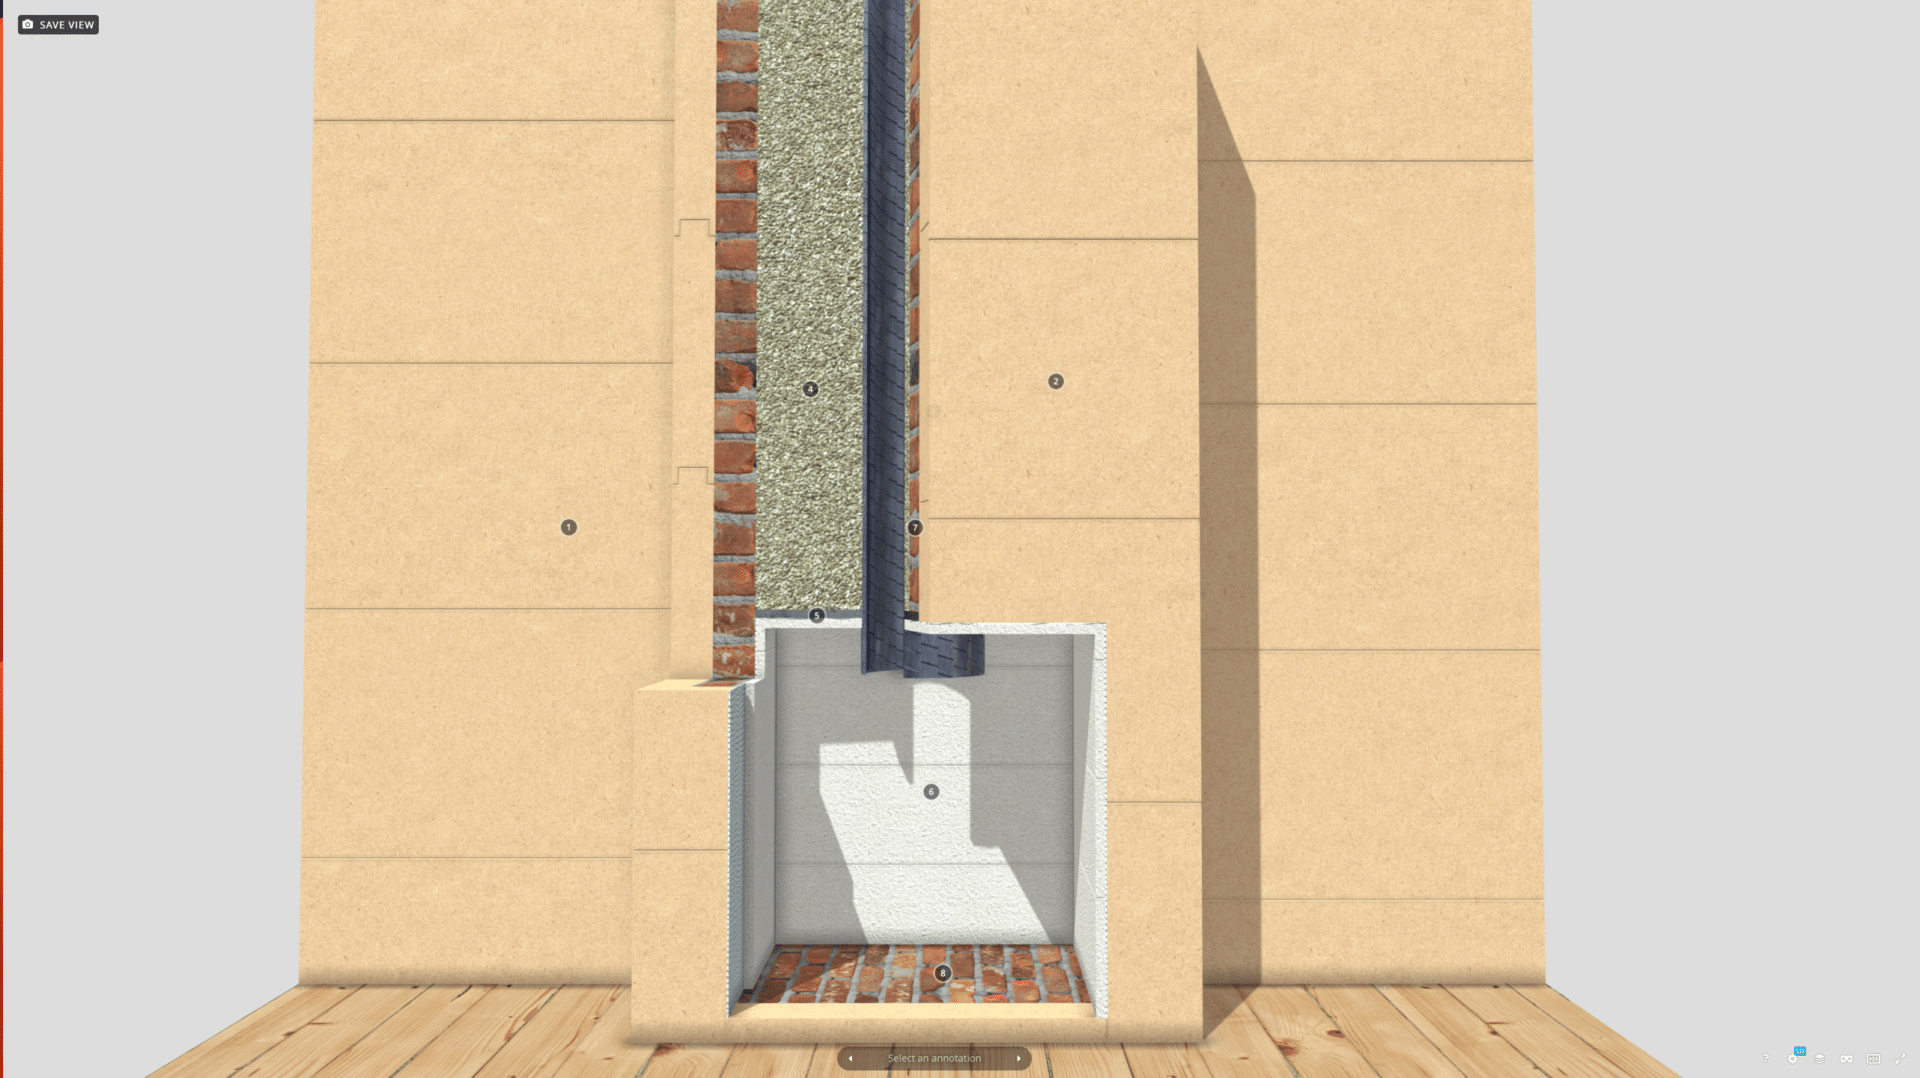
For all fireplaces, we’d recommend installing a liner and a blanking plate to the close off the top of the fire place. The chimney should then be back-filled with Vermiculite or Perlite up to at least the height of the top floor ceiling or wherever the stack meets the uppermost insulation layer in the property. In addition to providing insulation, the back-fill also improves the draw of the chimney so is integral to the lining of the chimney.
Step 2 – Fixing insulation
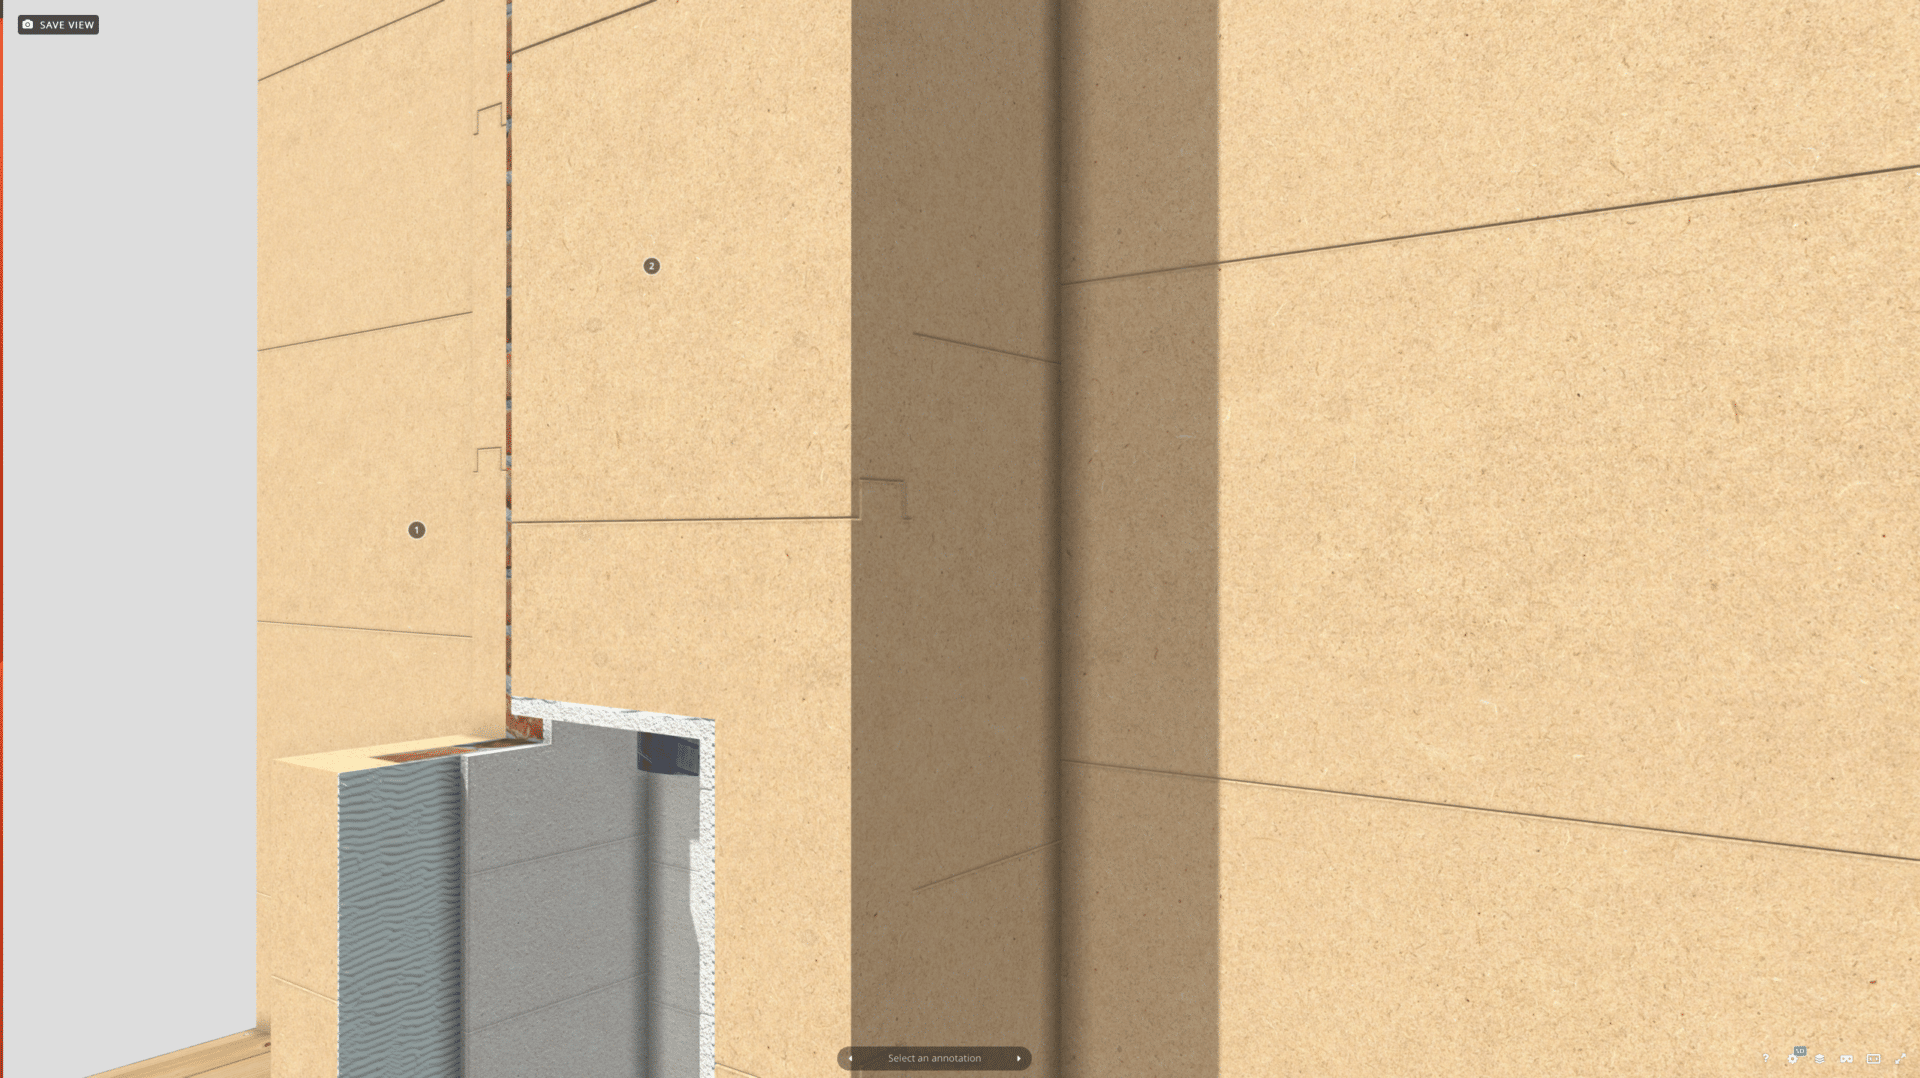
Usually, there is no need to change the thickness or type of insulation when insulating around the chimney stack and so the process of internal insulation would proceed as normal. However, it may be worth switching off the hammer action on the drills used for fixings so that masonry is not disturbed.
If the masonry is much less robust or significantly thinner around the front or sides of the chimney stack you may wish to change to an adhesively fixed insulation that requires no fixings, such as the Multipor mineral insulation boards. The surface of the chimney stack would need to be plastered flat with Baumit RK39 lime render first and then the boards can be adhered to the surface.
The insulation boards should be finished flush with the opening of the fireplace so that the Multipor boards lining the opening can come out and meet the front face of the stack insulation.
Step 3 – Lining opening
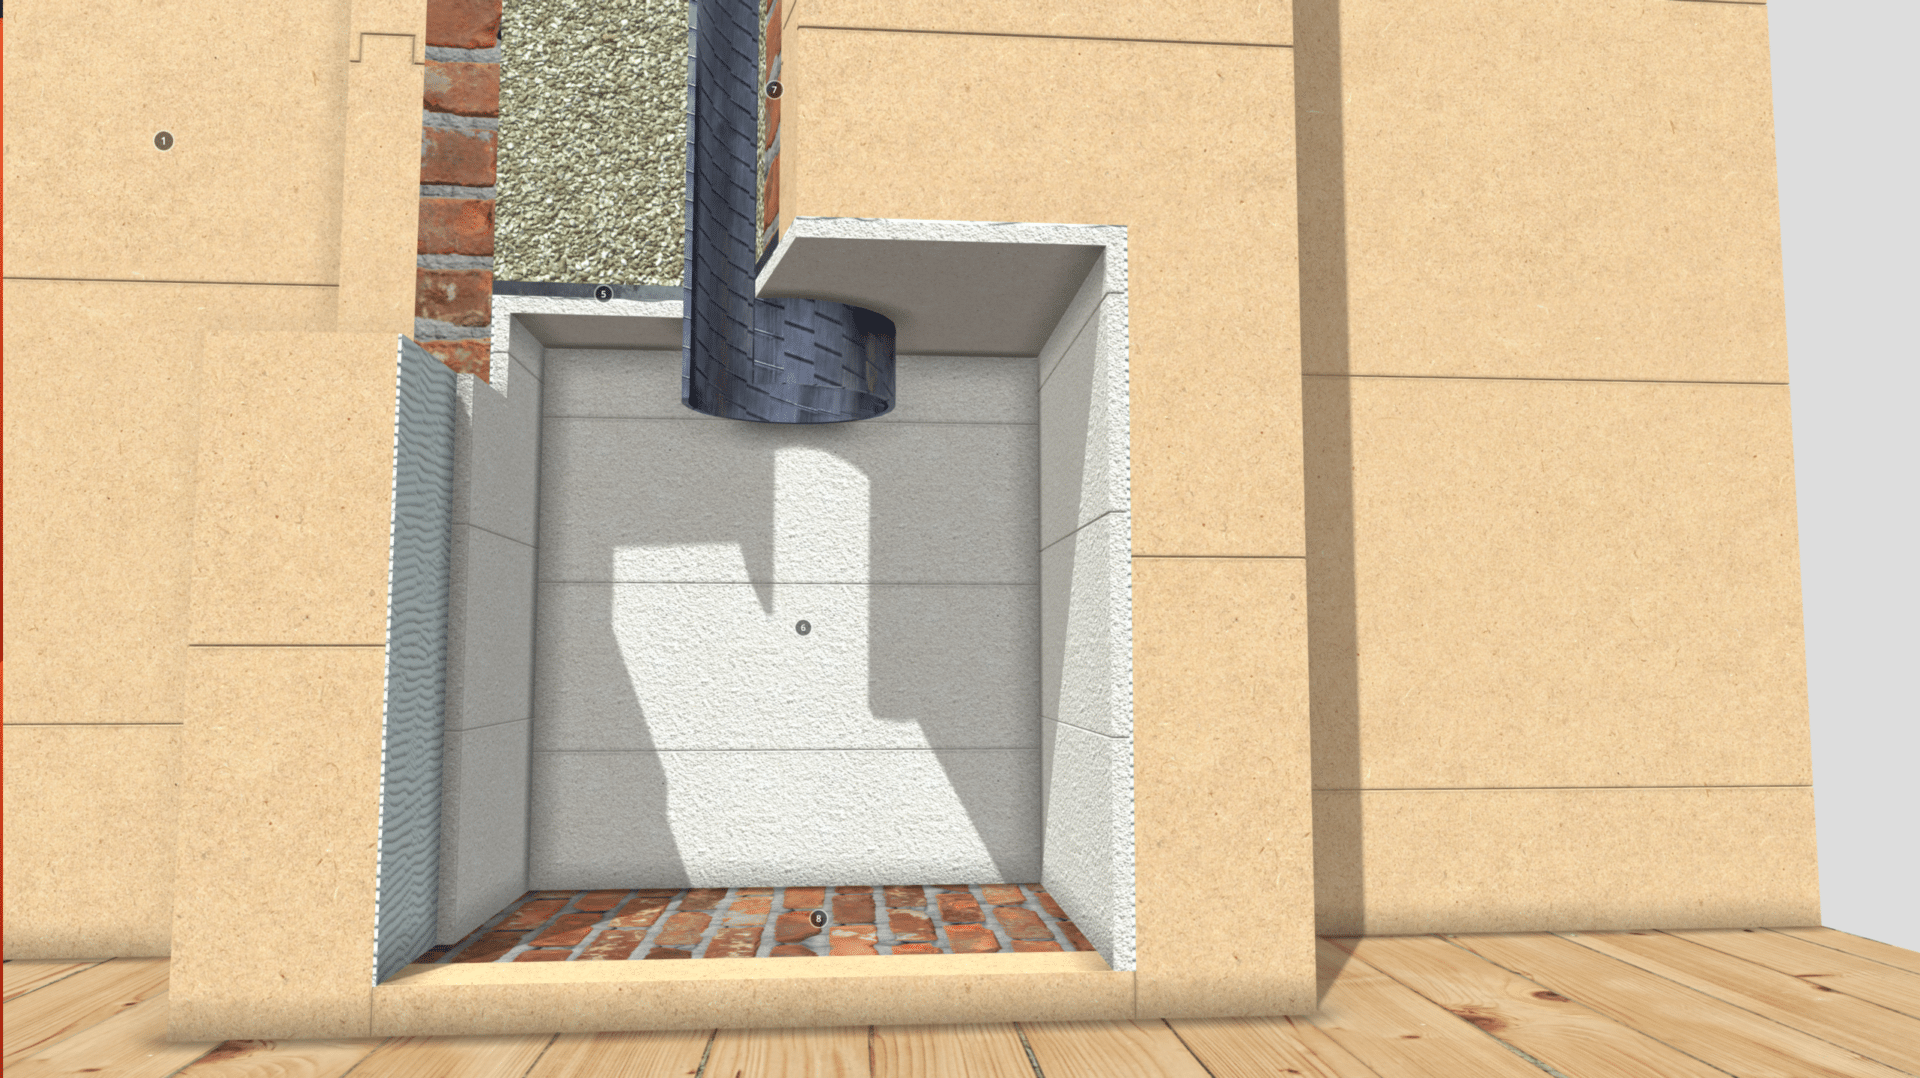
The interior of the fireplace should have all soot/tar residues removed was these may migrate through to the finished surface of the plaster. Once cleaned, the interior should be plastered flat with the Baumit RK39 lime render and left with a lightly textured or sponged finish. This should be left for 3-4 days to dry and harden.
The 20 or 40mm Multipor boards are adhesively fixed using a 6mm layer of the Multipor Fix X710 adhesive/plaster and brought flush with the front face of the insulation on the chimney stack. The surface is plastered with another 6mm coat of Multipor Fix X710, incorporating the Baumit StarTex mesh for reinforcement. Once hardened, this can be finished with the Baumit RK70N lime plaster and decorated.
Please be aware that Building Control set regulations on the minimum distances between very hot surfaces (such as wood burners and flues) and surrounding surfaces as well as air supplies to fireplaces. If reinstating a wood burner or fireplace please ensure these rules are followed.
If you have any questions about this installation, please feel free to contact us.