SPECIFICATION GENERATOR
Find out which low impact materials are right for your building project.
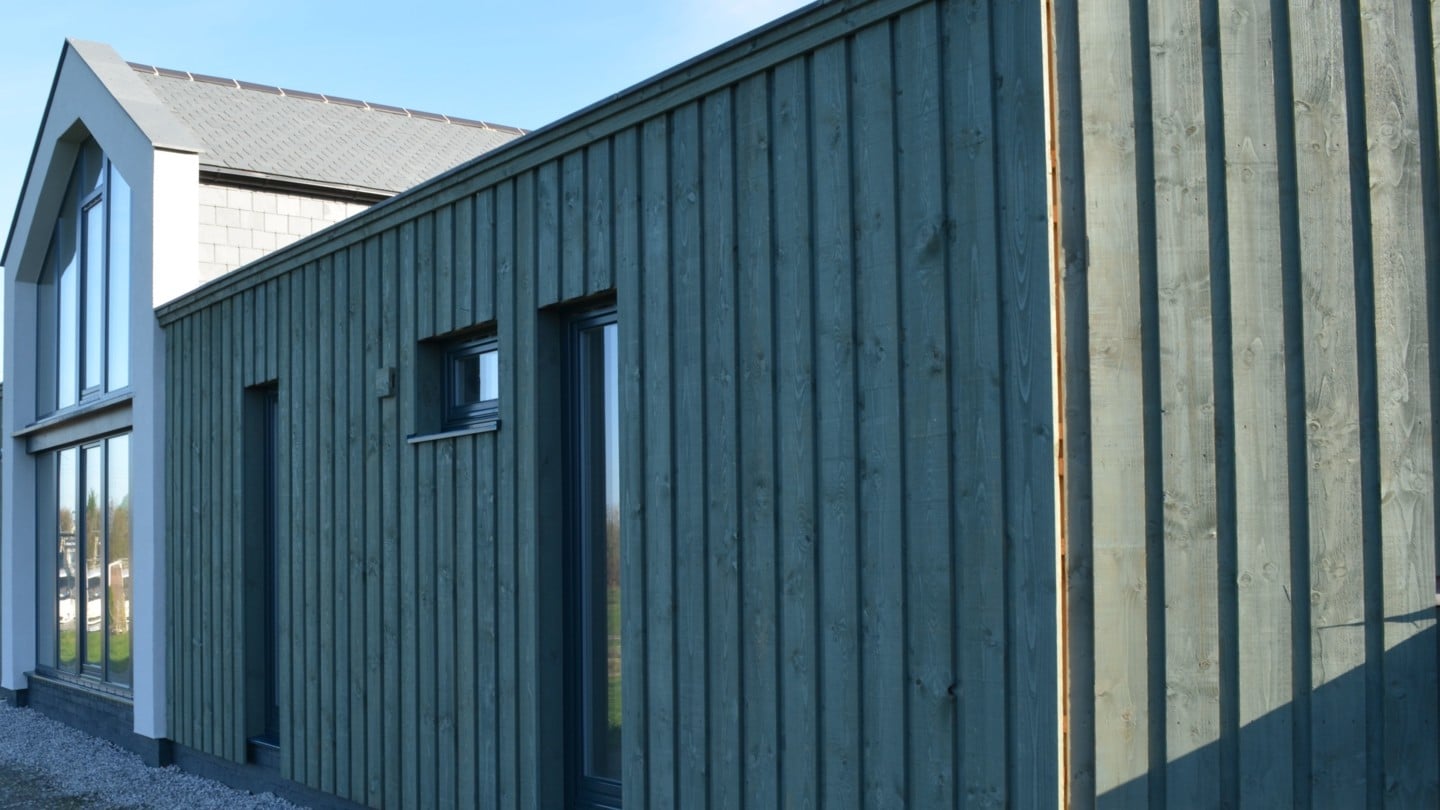
External Wall Insulation in Timber Frame – How to Detail Window & Door Reveals for Cladding
Here, using some simple 3D models, we look at how to correctly detail our wood fibre external wall insulation systems around window openings (which also applies to door openings) so that you can be sure you will not get wind-driven rain penetrating and causing issues or damage.
Once all of the wood fibre boards are fitted there is often a period where the windows have not been fitted and the sill areas get wet and damaged. Following these steps ensures that the sill areas stay dry until you’re ready to install the external breathable membrane (if you’re using one) and the windows. To correctly seal around an existing window you’ll need the following materials:-
Ampacoll SillSkin Self adhesive sill DPC
Ampacoll Komprimax Joint Sealing Tape
Ampacoll Fenax DS 30/70 window sealing tape
Ampacoll DT Double sided mounting tape
Ampatop Aero breathable membrane
In terms of installing the products, these are the steps to follow:- If you’re new to fitting wood fibre insulation, feel free to run through our online training resources first at Fibres where you can set up a free account and use all the training resources covering installations of wood fibre insulation in many areas of construction along with airtightness and installation of vapour control layers.
Step 1
(click on the models to allow 3D viewing, full screen icon bottom right)
The first step is to ensure the wood fibre boards are finished flush with the edges of the reveal and the Ampacoll SillSkin seal is applied to the sill.
The surface should be cleaned of dust and loose material and the top edge of the wood fibre board should be cut to a fall towards the exterior, away from the window. Cut the SillSkin so that it extends 50mm up each side of the reveal, 50mm down the front of the wood fibre boards and 50mm out either side of the opening but do not remove the backing from the Sillskin.
Once ready, apply a coat of Ampacoll Primax Primer to all the surfaces that will be covered by the SillSkin and leave to dry (up to a few hours depending on humidity and temperature). Once dry, remove the 50mm section of the backing paper on the SillSkin and, starting in the middle of the sill and working towards the corners, stick to the inner edge of the sill. Be careful – it sticks immediately and doesn’t let go!
Once this has been installed, remove the rest of the backing paper and, starting from the middle, stick the SillSkin down to the sill, stretching it out around the corners to ensure a continuous seal.
Step 2
(click on the models to allow 3D viewing, full screen icon bottom right)
Once the windows arrive on site they can be installed as shown. The Ampacoll Fenax DS 30/70 tape is applied to the edge of the frame, one strip on the outer edge and one on the inner edge. Apply the 30mm section to the frame with the 70mm section to be bonded to the reveals later.
Apply a layer of Ampacoll Komprimax to the perimeter of the window to seal and insulate the void between the window frame and timber frame. Once the window is fixed in place the Ampacoll Fenax DS 30/70 tape can be applied to the surface of the reveal (the entire perimeter of the window frame, making sure to prime the surfaces prior to bonding the tape), ready to be connected to the airtight/weathertight layers.
Step 3
(click on the models to allow 3D viewing, full screen icon bottom right)
Apply the Ampatop Aero or Ampatop Protecta breathable membrane to the surface of the wood fibre boards, using the Ampacoll DT double sided tape to mount the membrane and cutting it flush with the edges of the openings. Mark the stud positions onto the surface of the membrane as you go. Use the Ampacoll Fenax tape to seal the edges of the openings, down to the Ampacoll Fenax DS 30/70 tape which seals the perimeter of the window, ensuring minimum 20mm overlap.
Once the perimeter of the openings are sealed, the counter-battens can be fixed through to the studs behind. Ensure a firm fit against the surface of the membrane/wood fibre to ensure rain does not get behind the counter-batten.
Step 4
(click on the models to allow 3D viewing, full screen icon bottom right)
Install the sill, making sure it has the appropriate end-caps to prevent rain ingress. The cladding can now be fitted but make sure you apply Ampacoll Komprimax 15mm sealing tape to the top of the sill end-cap and up the window frame to ensure a weathertight seal once the reveal boards are installed.
For a quick video overview please see below:-
If you have any questions about this installation, please contact us.