SPECIFICATION GENERATOR
Find out which low impact materials are right for your building project.
Sound insulation in party and partition walls
In this guide we look at the best ways to improve party wall sound insulation and how to sound-separate rooms from each other.
Acoustic insulation is a vital part of creating a healthy internal environment as unwanted noise is a major cause of stress and can disturb sleep, resulting in poor health outcomes. Using specific materials which have high density and high sound absorption properties creates structures that enable acoustic separation and create relaxing, healthy environments.
In all of our acoustic specifications, both new constructions and retrofits, we use the EBB clay boards because their sound absorption is excellent, due to their high density and relatively low rigidity. Clay boards are also completely non-combustible and have the same fire rating as plasterboard, so create very fire-safe constructions with extremely good environmental credentials and low embodied carbon.
To further boost the sound absorption and acoustic separation, we also combine the high density SteicoFlex flexible wood fibre insulation between studs or battens.
Masonry Party Walls
Starting with party walls, the 3d model below shows the build-up we’d recommend applying to the surface of the wall.
Starting with the materials, this what you’ll need:-
- Baumit Viton Fein – Levelling plaster for bare masonry walls.
- Fischer SXRL or DuoExpand fixings – for fixing battens to the masonry walls.
- SteicoFlex flexible wood fibre insulation – for insulating between battens.
- 22mm EBB Clay boards – For providing the mass and acoustic absorption.
- Stainless steel screws and washers to fit the clay boards.
- Baumit Viton Fein – Levelling plaster for bare masonry walls.
- Baumit StarTex mesh – For reinforcing the plaster coat
- Rapido white clay finishing plaster – White finish plaster (can have pigment added to create colours)
Step One
The first step to ensure good sound separation in a wall is to have good airtightness and so masonry walls must be fully plastered, including between and around floor joists, behind skirtings and behind any partition walls that may abut the wall.
This can be any suitable plaster from clay to lime to lime/cement plasters but should be at least 10mm thick so confidently provide good airtightness. We would usually suggest the Baumit Viton Fein clay plaster as the lowest embodied carbon option or the Baumit RK39 lime plaster as a more standard option.
Step Two
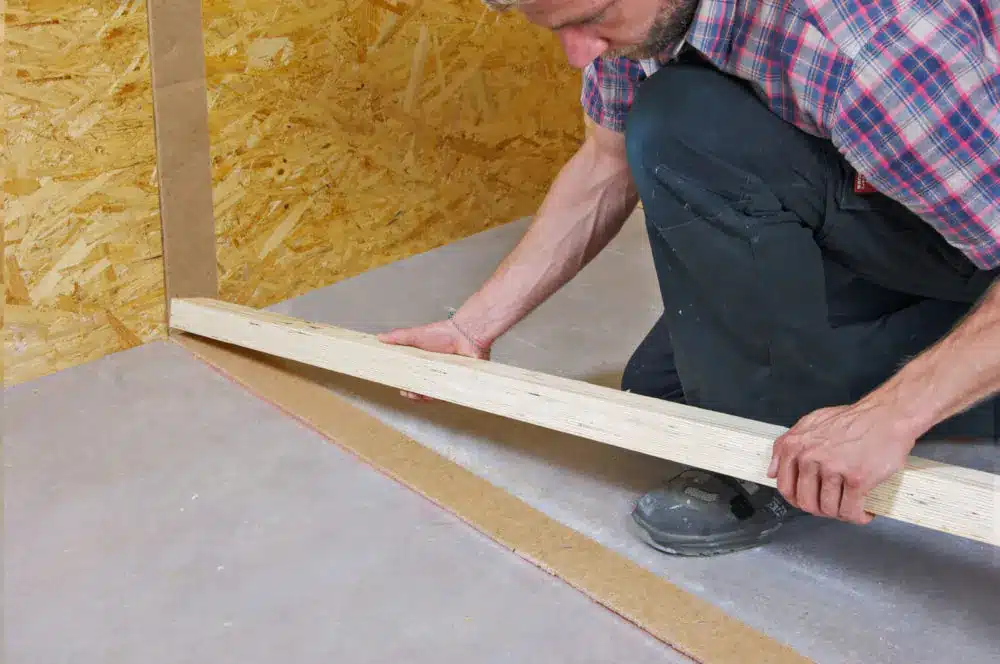
Very often staircases run next to party walls and so to keep the build-up as thin as possible and prevent the need to move the staircase, we then recommend fixing min. 25mm battens to the surface of the wall. This is partly to enable a layer of high density flexible wood fibre to be fitted and also to provide something to fix the clay boards to.
The battens are fixed with frame fixings or masonry plugs and screws at 500mm centres down the length of the battens. The battens are best fixed at either 625mm centres for walls with low traffic or 417mm centres if running along side a staircase. This so that you pick up the ends of the clay boards, which are 1250mm long.
Between the battens you install SteicoFlex flexible wood fibre insulation to the full depth of the battens, making sure you fully fill the whole surface and stuffing in off-cuts into any awkward gaps.. Should you need to cut the insulation, cut it 5-10mm wider than the gap you’re filling so that you have a snug friction fit.
To keep the flexible insulation in place, plasterer’s scrim tape can be stapled to the front of the battens.
Step Three
Fix the clay boards to the battens with screws slightly shorter than the combination of the board and batten thickness (e.g. 22mm clay board on 25mm battens should use screws no more than 45mm in length) along with plastic or stainless steel 36mm washers. Use 3 fixings per batten and keep them 50mm in from the long sides. This works out at 9 fixings per board when fixed to battens at 625mm centres or 12 per board for 417mm centres.
For full installation instructions see our guide here – Clay Board Installation Instructions
Step Four
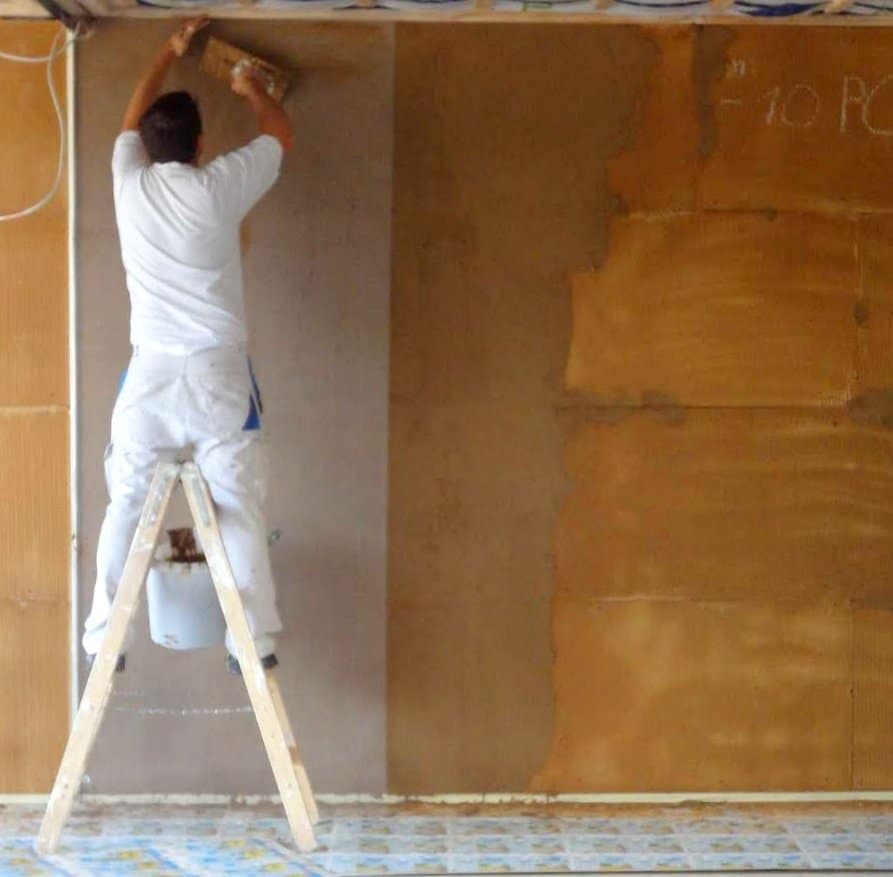
The clay boards can be lime or clay plastered, depending on where they’re being used and what is required from them. Areas with high traffic would usually be best plastered with lime based plasters as these are more robust and will withstand impact better. However, although clay plasters are softer, they tend to buffer moisture more effectively and there are beautiful clay plasters available as finishes.
We’re not going to go through the application of the various plasters here but this document details the two specification options – Clay Board Plaster Specifications
Timber Partition Walls
Timber partitions are usually the worst performing walls in terms of sound separation, mostly due to their low mass and rigid nature. However, using dense wood fibre insulation and EBB clay boards can dramatically improve their acoustic qualities, so much so that they exceed the performance of masonry walls.
Starting with the materials, this what you’ll need:-
- Steico SoundStrip – For reducing flanking noise transmissions around the timber frame.
- SteicoFlex flexible wood fibre insulation – for insulating between battens.
- 22mm EBB Clay boards – For providing the mass and acoustic absorption.
- Stainless steel screws and washers to fit the clay boards.
- Baumit Viton Fein – Levelling plaster for bare masonry walls.
- Baumit StarTex mesh – For reinforcing the plaster coat
- Rapido white clay finishing plaster – White finish plaster (can have pigment added to create colours)
- Alternatively, the plaster can be a lime plaster.
Step One
If constructing a new wall, run a strip of Steico SoundStrip around the perimeter first as this will help reduce flanking noise around the edges of the panel. This 100mm wide, 10mm thick strip of wood fibre insulation can be glued or intermittently stapled to the surfaces (wall/roof/floor) to hold it until such time as the timber studs are installed to hold it. Typically, a 100mm stud partition with studs at 417 or 625mm centres would be used for an internal partition using clay boards.
Once the timber frame is prepared (new or existing) fill between the studs with SteicoFlex wood fibre insulation that is slightly thinner than the depth of the stud, ensuring that where cut, the bats are still 10mm or so wider than the distance between studs and that all voids are filled. For example, a 100mm stud would be filled with and 80mm thick batt and a 75mm stud would use a 60mm batt, etc.
Step Two

The clay boards are 1250 x 625mm, which means that to fix the boards and join them on the studs they would need to be at 417 or 625mm centres. Where it is not possible to set the studs at these centres, we’d suggest either fixing a layer of 11mm OSB over the studs and fixing the clay boards to this or cutting the clay boards down to the correct size for the studs you have.
Using 36mm plastic or stainless steel washers and stainless steel screws 50mm or longer, the clay boards should have 3 fixings per stud, which are kept 50mm from the long edges of the boards. This works out at 9 fixings per board when fixed to OSB or to studs at 625mm centres or 12 per board for 417mm centres.
For full installation instructions see our guide here – Clay Board Installation Instructions
Step Three
The clay boards can be lime or clay plastered, depending on where they’re being used and what is required from them. Areas with high traffic would usually be best plastered with lime based plasters as these are more robust and will withstand impact better. However, although clay plasters are softer, they tend to buffer moisture more effectively and there are beautiful clay plasters available as finishes.
We’re not going to go through the application of the various plasters here but this document details the two specification options – Clay Board Plaster Specifications
Clay Board Data
Below are some of the data sets that we use to determine the properties and benefits of the EBB clay boards.
EBB (Lemix) Clay Board – Acoustic Test Data
EBB (Lemix) Clay Board – EI45 Fire Test Data
EBB (Lemix) Clay Board – EI120 Fire Test Data