PRODUCT SEARCH
Find high performance, low impact materials for your building project.
To discuss your project give us a call on 01392 861763

Our SystemsWalls
External Wall Insulation
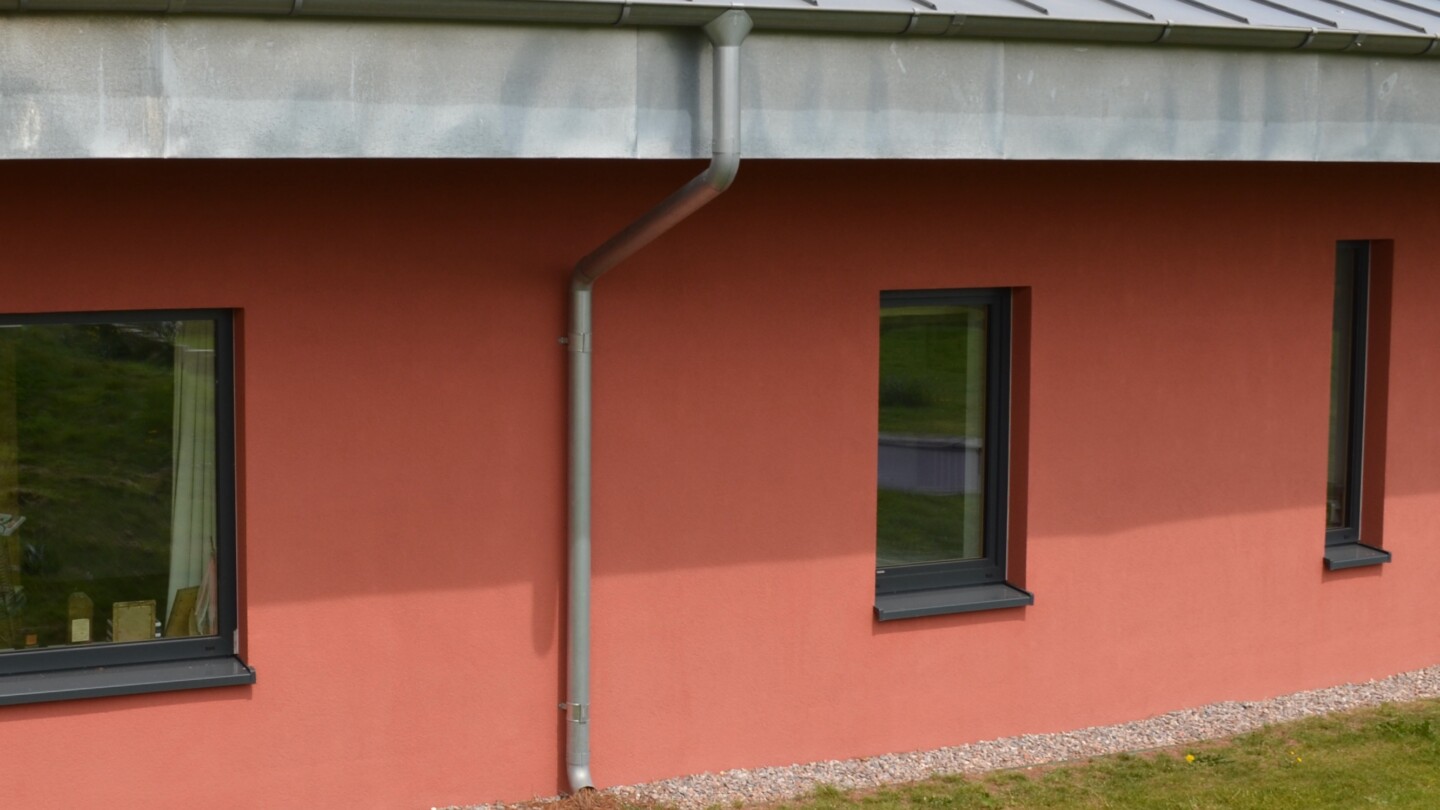
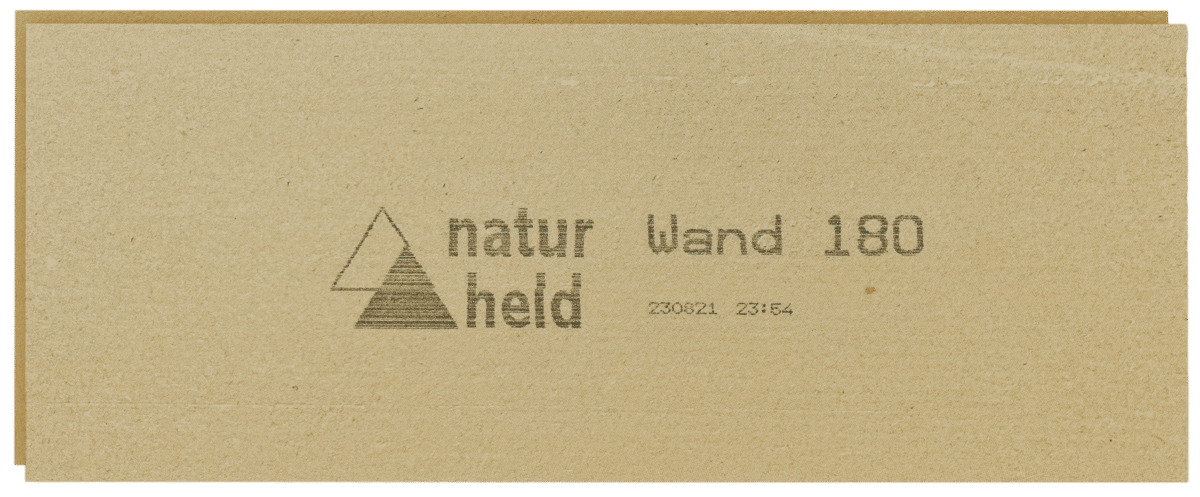
Wrap solid and cavity masonry walls in NaturHeld wood fibre boards on the outside, finished with a breathable Baumit render system for lasting weather protection.
Overview
External wall insulation keeps the whole wall on the warm side, so the masonry stays dry and warm and internal floor space is untouched. NaturHeld wood fibre insulation boards are set on a starter track above the DPC and mechanically fixed through to the masonry, giving a continuous layer of insulation with very few thermal bridges.
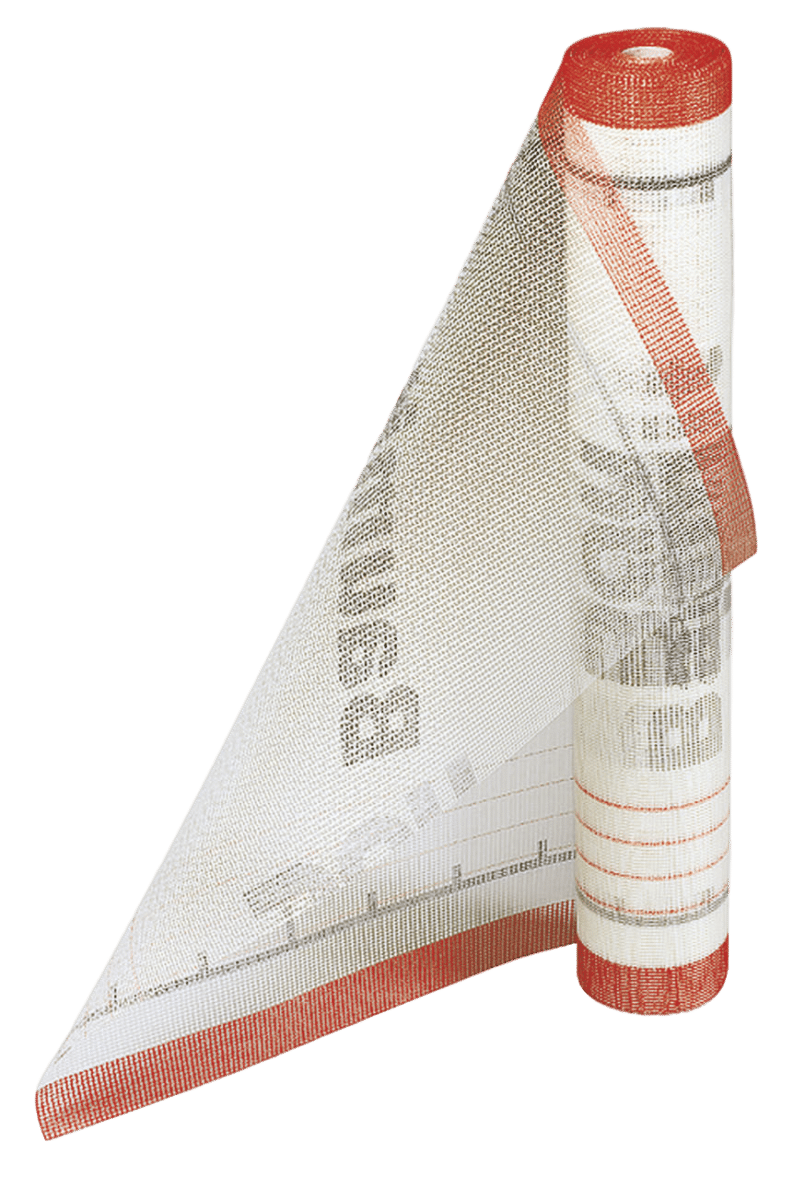
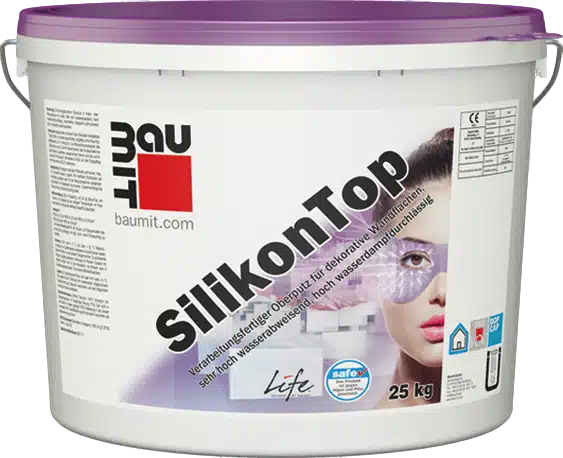
The boards are finished with a Baumit render system: a base coat of StarContact or StarContact White with StarTex reinforcing mesh, Premium Primer, and a SilikonTop silicone render finish. Because the build-up is vapour open from the inside out, moisture in the masonry can keep drying outwards, which makes it particularly well suited to solid brick and stone walls.
The same build-up is used on timber frame as the Baumit StarSystem Nature – Direct Fix, which holds Kiwa BDA Agrément BAW-24-351-S-A-UK. Please note that the certificate covers timber frame walls only, not masonry. View the Agrément certificate (PDF).
At ground level, Styrodur XPS plinth insulation protects the base of the wall, and around windows and doors, a self-adhesive sill DPC, sealing tapes and 20mm wood fibre reveal boards keep wind-driven rain out before the render is applied.
Key benefits
- No loss of internal floor space
- Keeps the masonry warm and dry
- Vapour-open build-up suited to solid brick and stone
- Continuous NaturHeld insulation with minimal thermal bridging
- Moisture-resistant XPS plinth at ground level
- Work carried out outside, with minimal disruption indoors
- Refreshes the look of the building with a new render finish
Products used in this system






Related specifications
Ready-made build-ups using this system. Open one to see the full specification and 3D model.
Need something different? Create your own specification.
Installing external insulation on masonry
Two details matter most for a long-lasting rendered wood fibre wall: where the wall meets the ground, and around windows and doors. Step-by-step instructions for both are below, with a full installation guide for each.
Plinth insulation at the base of the wall
Insulating the plinth stops heat escaping through the bottom of the wall, which would otherwise cause condensation and mould on the inside face. Styrodur XPS is used here because it resists moisture at ground level. The plinth detail is the same for masonry and timber frame walls.
Plinth build-up, from outside in
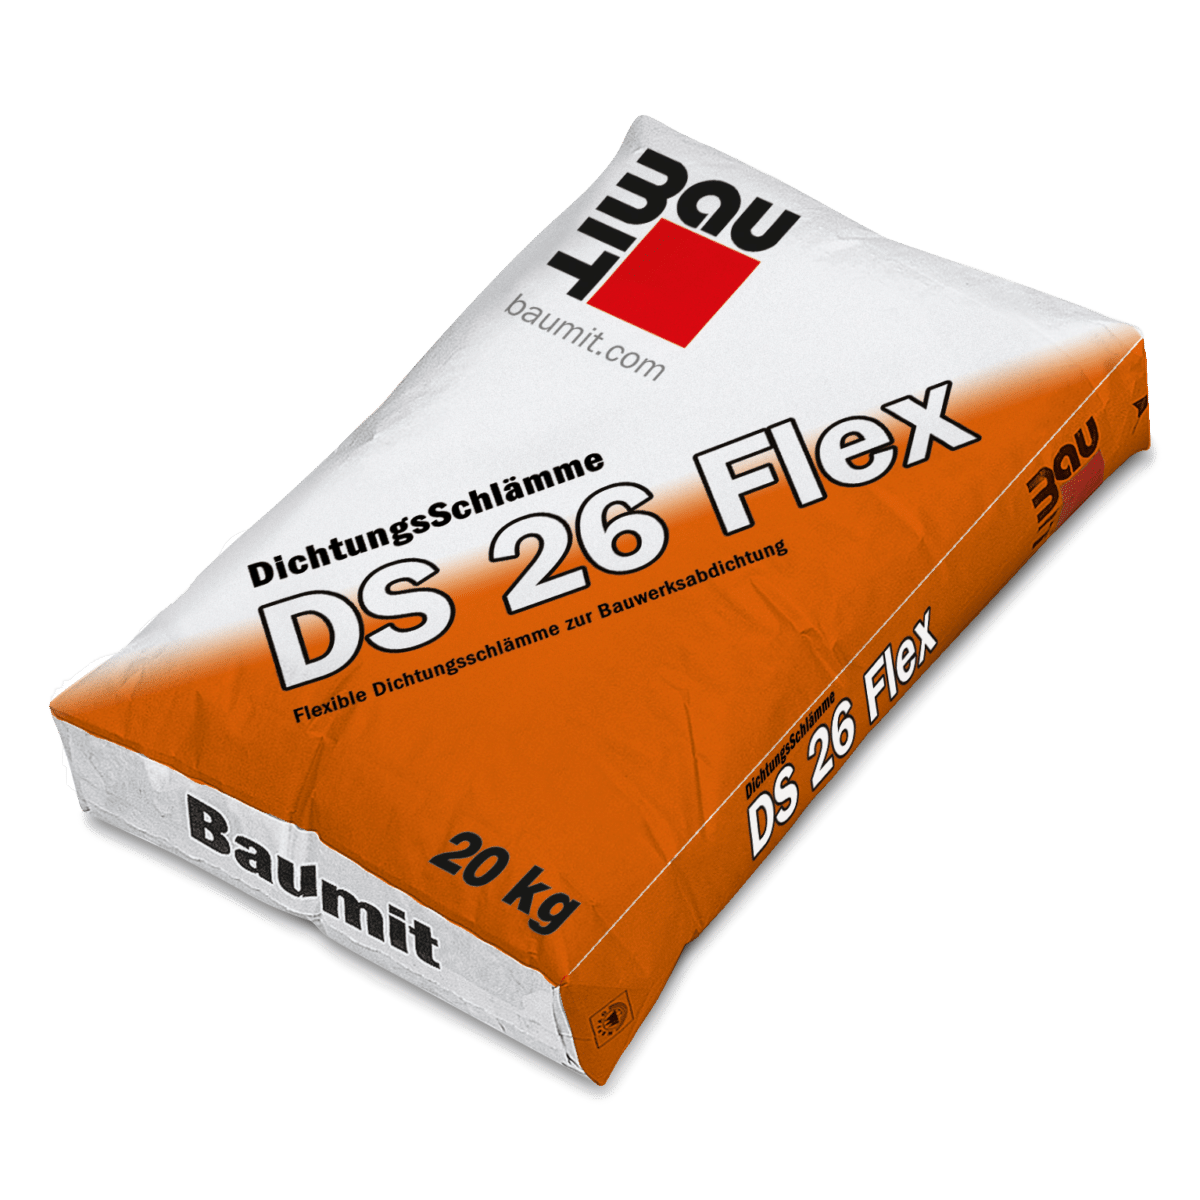
- 2mm Baumit SilikonTop finish render, with Baumit DS26 Flex waterproofing at ground level
- Baumit Premium Primer
- 6mm Baumit StarContact contact mortar with Baumit StarTex mesh
- Styrodur 2800C textured XPS insulation, bonded and mechanically fixed (thickness to suit the insulation above)
- Baumit StarContact to level the plinth wall, if needed

Step 1
Fix the XPS plinth boards
Clear the ground and make the wall flat. Fully coat the back of the Styrodur boards with StarContact, bond them level with the DPC, then add 3 fixings down the middle once set. On existing walls where the boards span the DPC, cut a 25mm V-groove in the back over the DPC and keep it free of adhesive. Apply Ampacoll Komprimax tape along the top edge.

Step 2
Fit the starter track
Install the PVC or aluminium starter track, flush with door openings and mitred at corners, pressed firmly onto the Komprimax tape to seal out moisture and insects.

Step 3
Install the NaturHeld boards
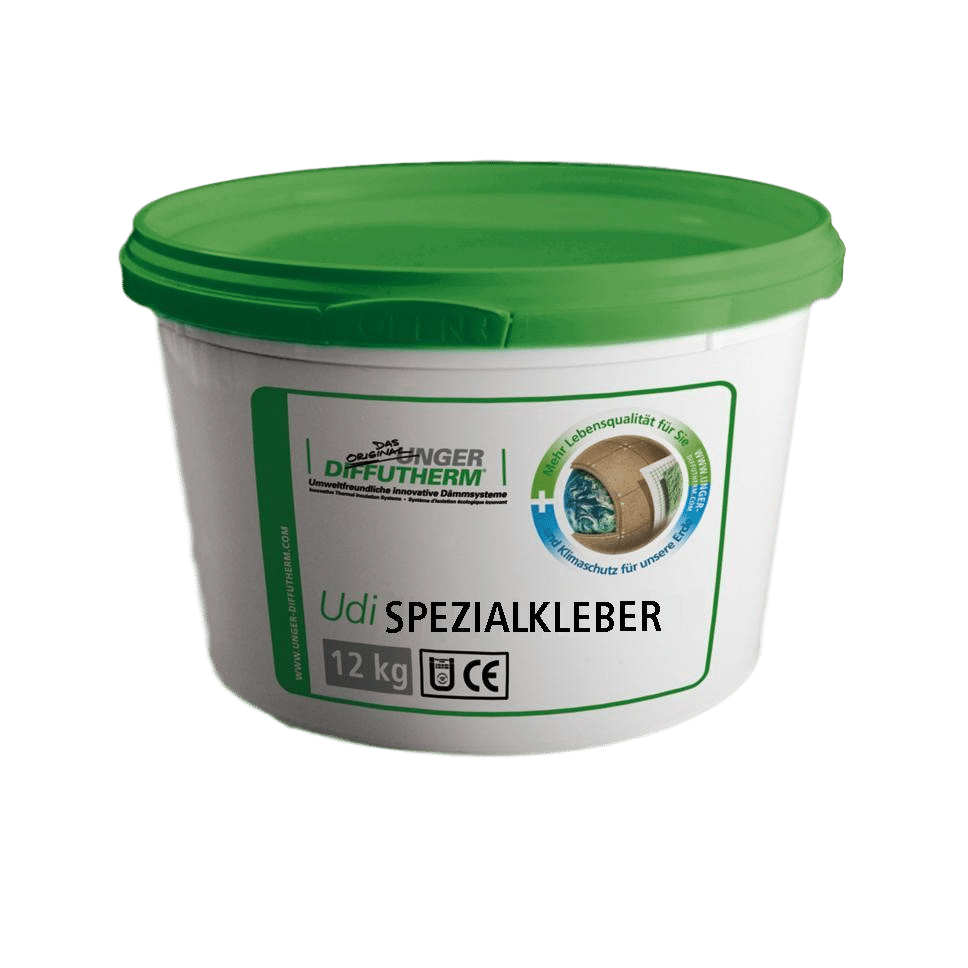
Cut the tongue and groove off the bottom boards and set them into the track, tongues up. Complete each face before the next, gluing the corner butt joints with UdiSPECIAL ADHESIVE to prevent cracking.

Step 4
Reveals and render
Glue 20mm reveal boards against Komprimax tape at the door. Render the plinth with StarContact and StarTex down onto the wall, then primer and SilikonTop, finished with DS26 Flex against splash-back.
Window and door reveals
Openings are where wind-driven rain is most likely to get in. Sealing each layer around an existing window or door, before the reveal boards go on, keeps water out of the masonry and the wood fibre insulation.
Materials for sealing around a window or door
- Ampacoll SillSkin self-adhesive sill DPC
- Ampacoll Primax primer
- Ampacoll Komprimax joint sealing tape
- Ampacoll Fenax 40/60 window sealing tape
- 20mm wood fibre reveal boards
- Baumit StarContact White contact mortar to bond the reveal boards

Step 1
Insulate and seal the sill
Finish the boards flush with the reveal. Make sure the sill falls outwards, correcting with base coat if needed, and bond a strip of 20mm reveal board onto any bare masonry. Prime, then apply SillSkin from the middle outwards, lapping 50mm up the sides, down the front and past each side.

Step 2
Fit the sill and sealing tape
Fit the new sill and its end caps against the window, falling away from the frame. Apply Ampacoll Komprimax to the window frame and the sill, so the reveal boards seal against them as an extra line of defence behind the render bead.

Step 3
Glue the reveal boards
Glue the 20mm reveal boards in place, head first then sides, pressed hard against the Komprimax to keep it compressed. Cover any visible SillSkin with Fenax so the render bonds. The wall is then ready to render.
Video installation guides
Watch the installation step by step, in order, from the plinth insulation at the base of the wall to the final silicone render finish.
 1Step 1How to install your plinth insulationWatch the guide →
- 2Step 2How to install plinth insulation using a starter trackWatch the guide →
- 3Step 3How to fix the first row of wood fibre boards to your wallsWatch the guide →
- 4Step 4How to fix wood fibre insulation boards to timber frameWatch the guide →
- 5Step 5How to fix sills and wood fibre window reveal insulationWatch the guide →
- 6Step 6The best way to fit EWI reinforcing beads around a windowWatch the guide →
- 7Step 7How to render and plaster wood fibre insulation boardsWatch the guide →
- 8Step 8How to apply silicone finish rendersWatch the guide →
- 9Step 9How to finish silicone finish rendersWatch the guide →


Not sure which system is right?
Our team can advise on the best build-up for your project. Call us on 01392 861763 or send us a message.