SPECIFICATION GENERATOR
Find out which low impact materials are right for your building project.
UdiTHERM Internal Wall Insulation on masonry – How to install wood fibre insulation
Here, using some simple 3d models, we look at how to correctly detail our internal wall insulation systems , focussing on window openings (which also applies to door openings) so that you can be sure you will not have moisture or condensation penetrating and causing issues or damage.
Before you start on your internal wall insulation project feel free to read through our article which answers the 12 most popular questions about where, why and how to use internal wall insulation. You can read this here. Once you’re ready, read on…
Starting with the materials, this is what you’ll need:-
- Baumit Viton Fein – Levelling plaster for bare masonry walls.
- UdiTHERM or BeltermoRoom (depending on what we’ve recommended for you) – wood fibre internal insulation boards.
- Fischer Termoz insulation fixings – specialist insulated fixings to prevent thermal bridging through the fixings.
- Ampacoll Fenax edging tape – plasterable airtightness tape used for sealing around any penetrations such as joists or vents.
- Corner beads and window edging strips – for forming neat edges to openings and around window/door frames
- Baumit RK70N lime plaster, UdiMULTIGRUND vapour regulating plaster or Baumit Klima Glatte (depending on what we’ve recommended for you) – for plastering directly on to the wood fibre board.
- Baumit StarTex mesh or UdiREINFORCEMENT mesh – laid into the lime plasters to reinforce and prevent cracking.
- If the base of the wall is level with or close to the external ground level, you should use a layer of Multipor mineral insulation boards bonded to the wall to avoid any issues with moisture.
In terms of thicknesses and U-values, on pre 1945 buildings, the English building regulations actually state that you need to achieve a U-value of less than 0.7 W/m2K even though a figure of 0.3 W/m2K is often mentioned. On a typical solid brick wall, the thermal performance can be seen in the table below:-
| Wood fibre board thickness | U-value achieved |
| 40mm | 0.64 W/m2K |
| 60mm | 0.48 W/m2K |
| 80mm | 0.38 W/m2K |
| 100mm | 0.32 W/m2K |
| 120mm | 0.27 W/m2K |
So, on to installing the insulation:-
Services
It is generally best to remove the existing services from the surface of your walls. If wiring or plumbing is left in situ it is easily damaged by the fixings that are to be installed for the insulation and so the safest way to avoid electrical faults or plumbing leaks is to remove them from the surface of the walls. We run through the installation of the services below, once the insulation boards are in place.
Wall base
If the base of the wall is level with or very near ground level outside, it is likely to be quite moist. This can be an issue for wood fibre insulation in some circumstances and so it is best to run a minimum 200mm high row of the Multipor mineral insulation boards along the base first. These boards are made from a mixture of lime, sand and cement and whilst they are just as breathable and insulating as wood fibre, they have lower sensitivity to moisture.
Multipor boards are adhesively fixed and cannot be bonded to gypsum plaster or any loose lime or cement plasters. Therefore, it may be best to replace the plaster along the bottom of the wall with a robust hydraulic lime plaster, such as the Baumit RK39.
The RK39 layer should match the thickness of any plasters used above so that the Multipor boards line up with the wood fibre used above.
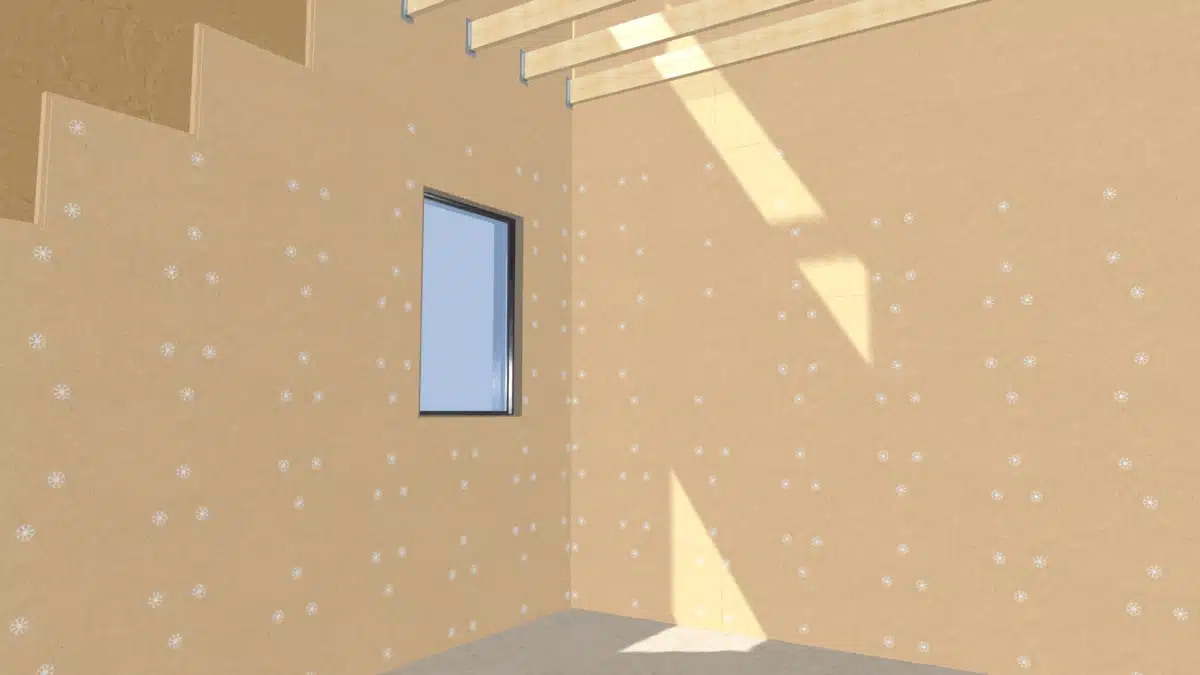
Step One
(click on the models to allow 3D viewing, full screen icon bottom right)
If the walls are plastered with a lime plaster, this can often be left in situ and insulation applied over the top. If the walls are cement and gypsum plastered the gypsum layer should usually be removed but the cement layer can be left as removing it often damages the masonry in the wall, making it much more difficult to fix into afterwards. Whilst cement plasters are not water permeable, they are actually fairly vapour permeable and are not usually a problem for the insulation system. However, if the plaster on the walls is loose and easy to remove, then it should be stripped back.
If any plaster is to be retained, any wall paper must be removed and it should be washed down with a fungicidal wash to remove the moulds and fungi that are found on wall surfaces.
On to bare masonry brush the walls down and dampen the surface before applying the Baumit Viton Fein plaster. If there are deep joints between stonework, use a simple hydraulic lime mortar to flush the surface up to reduce the amount of Viton Fein required. Usually a minimum of 5mm of Viton Fein is required and this should be left until it is green hard (can be dented with your finger nail easily but not your finger) before applying any boards.
Viton Fein is quite a high shrinkage type of plaster, meaning that as it dries it is very likely to crack. Fine cracks are not an issue but if more than 8-10mm is applied to the wall, the surface should be ‘rubbed up’ with a polyurethane float (often called a concreting float) to close up the cracks and prevent the plaster from lifting off of the surface. The thicker the plaster, the more often this will need to be done before the boards go on the wall.
Step Two
The boards are fixed in a brick pattern with a minimum of 6 fixings per m2. The exact number and position of fixings depends on the size/type of the boards used. You can see the suggested fixing patterns for the UdiTHERM T&G boards here or the UdiTHERM square edge boards here.
When installing the wood fibre boards, firmly press against the wall and initially fix each board lightly with 2 fixings so that they can be removed if required and any T&G profiles can be connected before fitting the boards tightly to the wall. Use an 8mm SDS drill bit to drill through the boards and into the wall and make sure the drill goes in at least 20mm more than the total length of the fixings.
Once all of the boards are installed, the fixings can be added as per the patterns in the link above and tightened up to ensure a good connection to the wall. Any joints that protrude should be planed down with a rasp or grid plane and loose fibres brushed off with a soft brush to ensure a smooth, clean surface for plastering.
The boards should be left to over-sail window/door openings by 25-50mm and once all of the boards have been fitted and fully fixed, neatly cut out the opening so that the boards are left flush with the inside of the reveal.
At this point, back boxes for sockets and switches can be installed, along with chases for the wiring. Use a 20mm chasing tool, create 20 mm wide and 20mm deep chases as necessary in the wood fibre. All wiring should be run in conduit and then ‘glued’ in to the conduit using the base coat plaster. All back boxes should be plastic or stainless steel (as lime tends to react with galvanised boxes and make them rust) and again, they can be glued in place with the base coat. Make sure the recesses for the back boxes and conduits are well coated with the plaster to ensure airtightness.
The back boxes for electric sockets should also be mechanically fixed to the wall behind to prevent them being pulled out when plugs are pulled out of sockets. Once all in place, flush up the surface with the base coat plaster to ensure there are no pits in the surface.
Step Three
With the boards fitted, the window/door reveal boards can be installed. It is very important to seal the edges of the boards to the surface of the window with the Ampacoll Komprimax sealing tape.
Start by applying the Ampacoll Komprimax sealing tape to the entire perimeter of the window/door frame where the reveal boards will meet it. This ensures a good, airtight seal against the window/door frame even if the plaster cracks. Next apply a thin layer of Baumit StarContact White lime contact mortar to the surface of the masonry reveal and a thin layer to the back of the board, using a 20mm half round notched trowel.
The edge of the reveal board in contact with the UdiTHERM/BeltermoRoom board should be left clear of mortar. The edge of the UdiTHERM/BeltermoRoom boards around the opening should be liberally coated with a layer of the UdiSPECIAL ADHESIVE and the reveal board pressed into place. Make sure this compresses the Ampacoll Komprimax tape back down to its original size if it has expanded. This should be left for up to 48 hours to set fully. Try starting with the head of the opening first, then the sides and finally the sill area.
Step Four
Once the reveal boards are fitted, the beads and plaster layers can be applied and finished. Start by cleaning the internal surface of the window/door frames and installing the window sealing beads. The surface must be clean and dry so that the self adhesive strip sticks effectively to the surface of the frame and start with the head first, followed by the sides. You do not need one along the bottom of the opening. The corner beads can then be bedded in the thin layer of plaster in the correct location, along with the arrow shaped mesh pieces in each corner of the openings.
We usually suggest plastering the window reveals first and any other awkward areas and leaving them to set before moving on to the main area of walling. Also, when plastering the corners, it is easier to plaster one side at a time rather than trying to finish both sides against the bead.
Apply 4-5mm of base coat plaster (UdiMULTIGRUND or Baumit RK70N) and comb with a 20mm half-round notched trowel at 45 degrees to ensure the correct thickness of plaster on the wall. Whilst still wet, lay in the mesh and trowel to a smooth finish. Any trowel marks must be removed either with a spatula or by sponging once the plaster has stiffened up. Once the base coat layer has cured for 5 days finish with either Baumit RK70N or Baumit Klima Glatte fine lime finishing plaster.
The Baumit Klima Glatte is applied in 2 passes. The first coat can be applied at 1.0 -1.5mm thickness using a plaster with the same consistency as Multi-Finish. This coat should be laid on and not trowelled up to remove any trowel marks until it has become a firm, rubbery texture. Trowelling up before this is likely to drag the plaster and make it very difficult to achieve a decent finish.
Apply a very thin (0.5mm or so), wet coat of plaster to enable the finishing of the plaster. This should be done whilst the first coat is still damp so to ensure the two layers bond properly. This coat can be trowelled to as fine a finish as is required.
With the RK70N lime plaster, a 2-3mm coat is applied over the base coat, trowel marks removed and left to stiffen. Once this has firmed up (but obviously not hard) you can trowel it up to achieve a good finish. Water should only be used if absolutely necessary to achieve a finish. It brings the lime to the surface and makes for quite a powdery finish.
What happens at junctions with internal walls?
Strip the plaster off of the partition wall at least 600mm along the return to be able to fit the system thickness plus 500mm of reveal board. When you meet internal wall junctions with the system, the wood fibre boards should be snuggly fitted/scribed into the corner to keep gaps to an absolute minimum. Using the Baumit StarContact White lime contact mortar as an adhesive, apply a thin layer to the back of a 20mm wood fibre reveal board and to the surface of the partition wall and push the two together to bond in place. You should come at least 500mm back along the return with the reveal boards.
Once the reveal boards are fitted and the adhesive layer set, you can plaster over the boards and blend in to the surrounding plaster.
You can see this explained in the model below:-
How does this fit in with the rest of the building?
(click on the models to allow 3D viewing, full screen icon bottom right)
Here you can see how the internal wall insulation joins up with the suspended floor insulation, how it goes through the first floor and how it meets the roof or ceiling insulation.
If you have any questions about this installation, please contact us.
Would be really useful to see a 3D sketch with chimney breast and bay windows, as a lot of the old properties in the UK that this system is perfect for have both present.
Also a link to see how it ties into suspended floor systems would be useful for people (You can find it by looking at insulation for suspended floors, but isn’t apparently obvious here).
Hi Stan
Thanks for your suggestion. We’ll get a model built and added to the article soon.
If you have any questions, please do not hesitate to contact us.
how about existing central heating pipework?
Does this need to removed from original wall that will be covered with the fibreboards and the refitted over the finished plasterwork?
thank you .
please can someone contact me to discuss our requirments and your product
Thank you